Have you ever pulled a beautiful crop of onions out of the garden only to watch half of them turn soft and moldy in the pantry a few weeks later? If so, you failed one thing-to cure it properly. Knowing how to cure onions after harvest properly is the single biggest factor that determines the quality of your onion after harvest.
In this article, I will walk you through everything you need to know about best practices about curing onions the organic way. Additionaly, I will show you how to store onions long term so your hard-earned harvest actually serves you best. I will tell you about organic onion storage tips that will help you avoid the soft spots, sprouting, and neck rot after harvests.
Why Curing Onions Matters So Much
After onions are pulled from the soil, they’re still full of moisture. That moisture is loved by bacteria, mold, and rot organisms. To ensure that your onion is safe, curing is necessary.
Curing is the process of slowly drying the outer layers of the onion until they form a protective seal around the inner flesh.
If you step curing, you will certainly have a rotten onion from inside out. For any serious organic grower, proper curing isn’t optional, it is part of the process of producing a truly healthy and nutritious onion. If you’re new to growing onions without synthetic inputs, our guide on organic onion farming techniques covers the full cultivation process from planting through harvest, which sets the stage for a successful cure.
When to Harvest Onions for the Best Cure
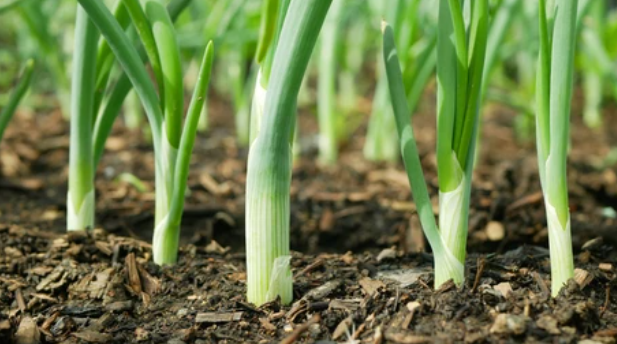
Curing starts with timing the harvest correctly. Pull onions too early, while the necks are still thick and green, and they won’t cure well no matter what you do afterward. Wait too long, and the bulbs may split or start regrowing roots in wet soil.
The best indicator for the readiness of onions for curing, is the foliage. When you notice that a third to half of the tops have flopped over and started to yellow, it’s time to stop watering and let the bed dry out. Once most of the tops are down and the outer skins begin to feel papery rather than fleshy, harvest day has arrived. Pull the onions gently taking care not to bruise or nick the bulbs. If your soil tends to stay damp, it’s worth reviewing factors to consider when choosing a suitable garden site next season, since drainage has a direct effect on how well bulbs cure later.
How to Cure Onions After Harvest: Step-by-Step
Let’s now break down how to cure onions after harvest in a way that consistently works.
Step 1: Let Them Rest in the Field (Briefly)
Leave freshly pulled onions lying on top of the soil for a day or two if its dry. This initial sun exposure helps the outer layers begin drying. Do not wash the bulbs or cut off the tops or roots yet. If its a rainy season, then move them straight to a covered curing area.
Step 2: Move to a Warm, Dry, Well-Ventilated Spot
After brief field rest and drying, relocate the onions somewhere with good airflow and away from rain. Optimal curing happens at temperatures between roughly 75–90°F with good ventilation for two to four weeks, which allows the neck and outer scales to dry thoroughly without cooking the bulb.
Step 3: Spread Them Out, Don’t Pile Them
Lay onions in a single layer on a wire rack, screen, slatted pallet, or even an old window screen propped on sawhorses. Make sure that there is enough air circulation. Avoid piling them in deep bins, since trapped moisture between bulbs is one of the most common causes of curing failures.
Step 4: Leave the Tops and Roots On
If the tops or roots are trimmed before curing is finished, moisture and disease may quickly get into the bulb through the cut area. Wait until the tops and the roots are completely dry and papery before doing any trimming.
Step 5: Check for Doneness
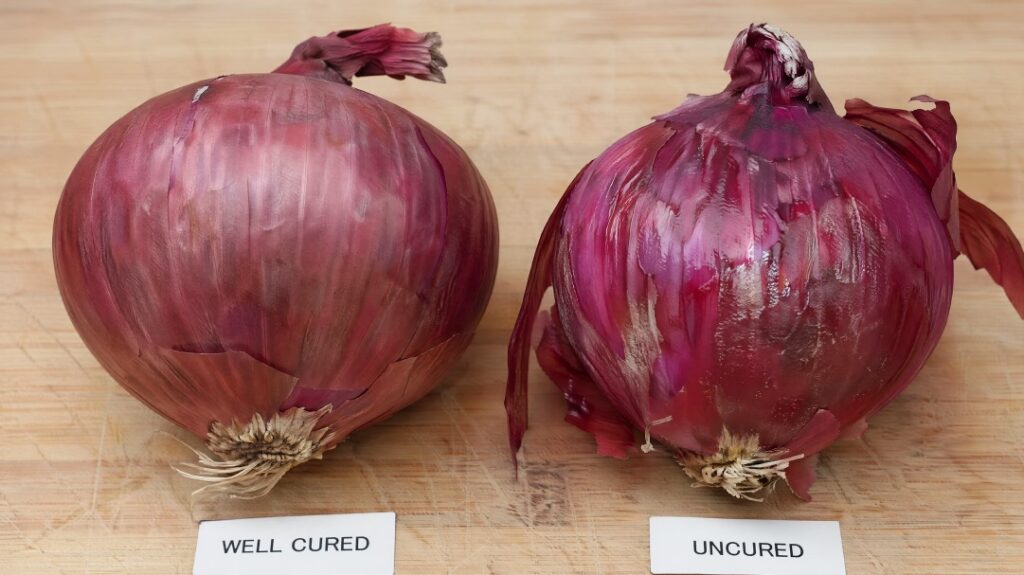
Doneness simply means that the bulbs have entered dormancy and are perfectly sealed for long-term storage. Onions are properly cured when:
- The outer skins feel dry, almost like paper
- The neck is tight and dry, not soft or fleshy
- The roots have shriveled and dried up
- There’s no green color at the neck
The complete curing process typically takes two to three weeks.
Step 6: Trim and Sort
Once fully cured, it is now time to trim the tops to about an inch above the bulb and roots close to the base. Make sure to sort out any onions with soft spots, bruises, or thick necks. These should be used first in the kitchen, for they will not last long on the shelf.
If pests or fungal issues showed up in your onion bed this season, it’s worth reading our roundup of natural pest control remedies for organic gardens so next year’s crop cures even more cleanly.
Storing Onions Long Term: Setting Up the Right Conditions
Success in long-term storage depends largely on the success of the previous process, curing. Good storage comes down to four variables: temperature, humidity, airflow, and darkness.
Ideal Temperature
For the longest storage life, onions want a cool environment — ideally between 45°F and 55°F. Storage that’s too warm encourages sprouting, while temperatures that swing dramatically between cold and warm invite condensation, which leads to rot.
Humidity Matters
Onions need a relatively dry environment. Too much moisture in the air will soften the outer skins and encourage mold
Airflow
Never store onions in sealed plastic bags or airtight containers; trapped moisture will cause rapid rot. Instead, use the following
- Mesh or net bags
- Wire baskets or crates
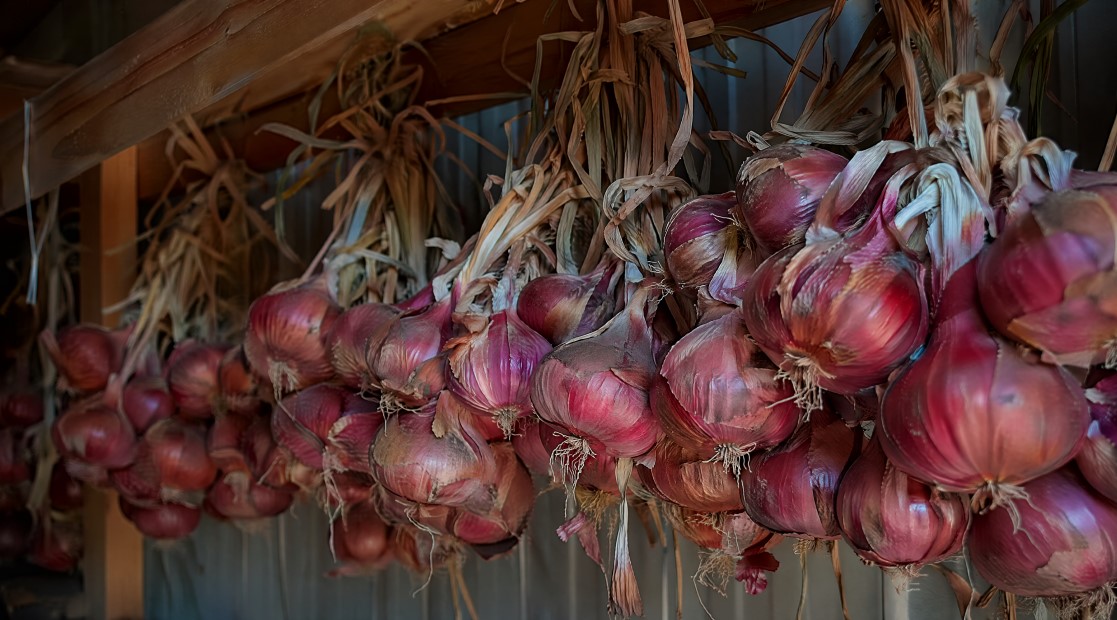
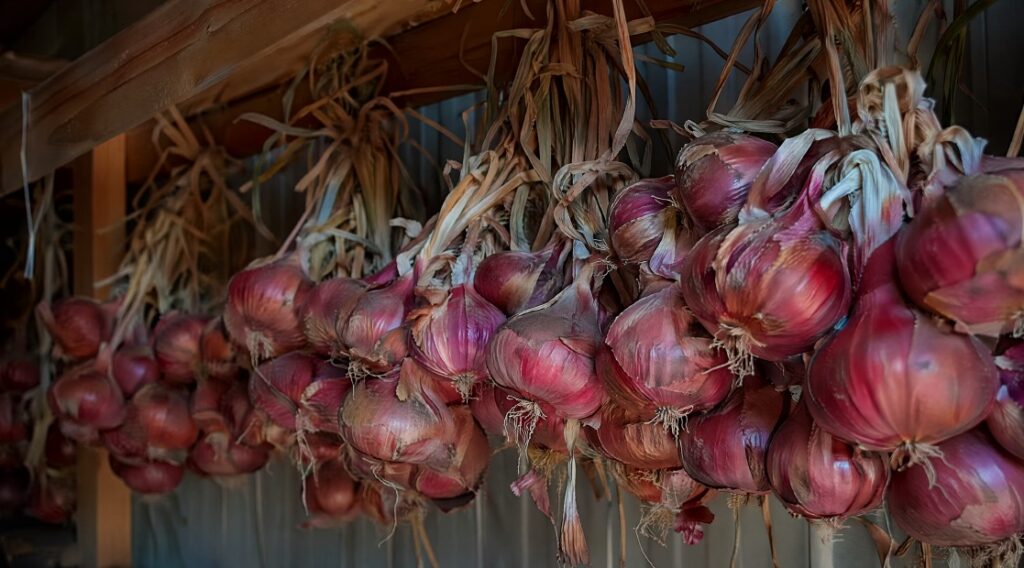
- Braided strings hung from a rafter or beam
Keep Them in the Dark
Light causes onions to turn green and bitter and can trigger early sprouting. Make sure to choose a dim or fully dark storage room, or cover open baskets with a breathable cloth.
Common Mistakes That Ruin Stored Onions
Even experienced gardeners fall into a few predictable traps:
- Washing onions before curing — this introduces moisture exactly where you don’t want it
- Cutting tops too early — leaves an open wound that invites rot before the neck has sealed
- Storing in sealed plastic — traps humidity and accelerates decay
- Piling onions too deep — restricts airflow and hides developing soft spots
- Storing in a warm kitchen pantry — most kitchens run far warmer than the ideal 32–50°F range, shortening shelf life dramatically
- Mixing cured and uncured onions — a single under-cured bulb can introduce mold spores to an otherwise well-prepared batch
If you’ve made some of these mistakes in other parts of your garden too, you’re not alone — our piece on 9 beginner organic gardening mistakes to avoid for bigger harvests covers several related missteps that affect more than just onions.
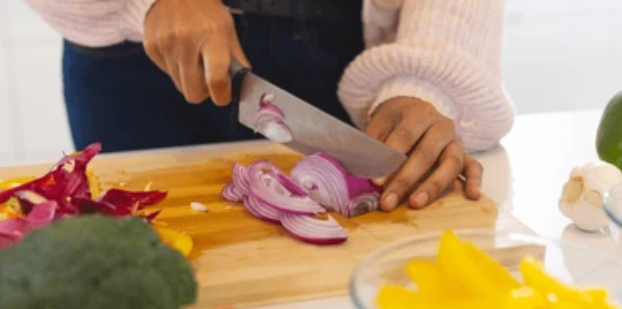
Putting Cured Onions to Use
Of course, the whole point of all this careful curing and storing is to actually enjoy the harvest. Onions are a kitchen staple precisely because they’re so versatile — and they bring real nutritional benefits to the table too. Alliums like onions and garlic are well known for their anti-inflammatory compounds, which is part of why they show up so often in food-as-medicine circles. If that interests you, take a look at our list of 10 vegetables that reverse inflammation naturally, where alliums make a strong showing alongside other garden staples.
And if this whole process has you thinking more broadly about why organic methods matter in the first place — beyond just onions — our article on why organic farming is regenerative digs into the bigger-picture reasoning behind skipping synthetic inputs at every stage, from planting to post-harvest storage.
Conclusion
Getting onions to last from autumn harvest all the way through winter and into spring comes down to a fairly simple sequence, even though each step matters:
- Harvest at the right time
- cure onions after harvest properly
- Trim, sort, and discard any damaged bulbs before they go into storage
- Focus on storing onions long term using cool temperatures, moderate humidity, good airflow, and darkness
- Apply consistent organic onion storage tips
None of these steps require special equipment or synthetic chemicals — just attention to detail and a little patience. For gardeners just getting their footing with organic methods in general, our beginner’s guide to organic gardening is a good companion resource, and our roundup of the best organic fertilizers for vegetables can help you grow a stronger onion crop from the start, which always makes curing and storage easier down the line.